Move-In Cleaning and Inspection Checklist for Seattle Renters
What Seattle renters should inspect, photograph, and clean on move-in day: the signed checklist, deposit receipt, smoke alarms, and repairs in writing.
The short answer
On move-in day, inspect and photograph every room before you unpack, compare what you see with the landlord's written move-in checklist, and correct it before you both sign and date it, keeping your own copy. Then clean the insides of cabinets, the refrigerator, and the bathrooms while the unit is still empty, test the smoke alarms, report anything broken to the landlord in writing, and file the deposit receipt and the notice of where your deposit is held.
- In Washington, a landlord cannot collect a deposit without giving you a written move-in checklist describing the unit's condition, signed and dated by both of you (RCW 59.18.260). Check it line by line before signing.
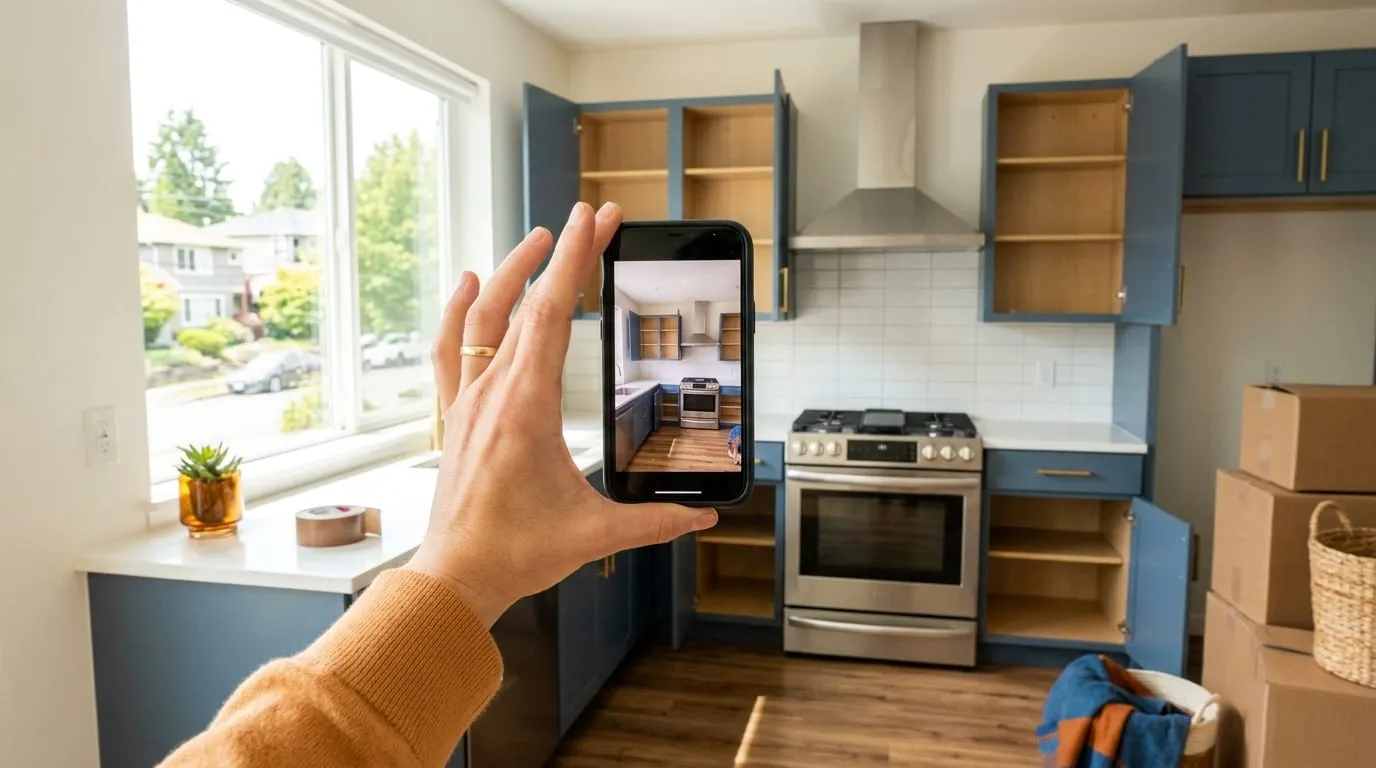
- Photograph and video every room before a single box comes in. Those files and the checklist are what your move-out will be measured against.
- Clean the insides of cabinets, drawers, the refrigerator, and the bathrooms while the unit is empty; it is far harder once you unpack.
- Test every smoke alarm, and put any repair request to your landlord in writing, keeping a copy.
- Keep the written deposit receipt and the notice naming the bank or escrow where your deposit is held (RCW 59.18.270).
This checklist is for Seattle renters on the day they get the keys. It covers the two jobs that matter most before you unpack: recording the unit’s condition so your move-out is judged fairly, and cleaning the places that are hard to reach once your things are in. It also covers the paperwork Washington law says you should receive, and what to do about smoke alarms and repairs.
Plan on doing this in order: inspect, photograph, complete the checklist, clean, then unpack. If your movers arrive the same morning, try to get into the unit an hour or two ahead of them, or stage the boxes in one room while you work through the rest.
Step 1: The move-in checklist is your most important document
Washington makes the move-in checklist central to every security deposit. Under RCW 59.18.260, no deposit may be collected unless the rental agreement is in writing and the landlord gives the tenant a written checklist or statement at the start of the tenancy “specifically describing the condition and cleanliness of or existing damages to the premises, fixtures, equipment, appliances, and furnishings.” The statute names walls (including paint and wallpaper), carpets and other flooring, furniture, and appliances as items it must cover, among others.
The checklist must be signed and dated by both the landlord and the tenant, and the tenant gets a copy. You may request one free replacement copy. A landlord who collects a deposit without providing a checklist is liable to the tenant for the amount of the deposit.
Why this matters so much: at move-out, RCW 59.18.280 bars a landlord from withholding deposit money to repair or replace fixtures, equipment, appliances, and furnishings if their condition was not reasonably documented in the move-in checklist. The flip side is that anything the checklist calls clean or undamaged is the standard you will be held to. The City of Seattle’s security deposit checklist page puts it plainly: the checklist is what the landlord will use to determine whether you are responsible for damage when you move out.
How to complete it well
- Do it in the empty unit, in daylight. Seattle’s gray winter afternoons are dim, so bring a flashlight or work light for closets, under sinks, and inside the oven.
- Be specific. “Carpet: fair” is weak. “Bedroom carpet: two dark stains near closet door, about palm-sized; matted path from door to window” is strong.
- Note cleanliness, not just damage. The statute covers condition and cleanliness. If the oven has grease on the floor or the refrigerator gasket has mildew, write it down.
- Open and operate things. Run each faucet, flush each toilet, open every window and blind, run the dishwasher drain, and turn on each burner and the oven.
- Correct before signing. If the landlord’s form already says “good” where you see a problem, ask to change it or add your note. The City of Seattle advises letting the landlord know immediately if something is not noted.
- Keep your copy safe, along with your executed copy of the lease. RCW 59.18.065 says the landlord must give each tenant who signs a written rental agreement an executed copy, and you may request one free replacement copy during the tenancy.
Step 2: Photograph and video everything before you unpack
Photos are not mentioned in the deposit statute, but they are the most practical way to back up the checklist. Take them before anything comes into the unit, and make sure the files keep their date information.
What to photograph
- A walkthrough video of the entire unit, narrating room names as you go.
- Each room from each corner, then close-ups of anything noted on the checklist.
- Floors, including carpet stains, scratches in hardwood, chipped tile, and transitions between rooms.
- Walls and ceilings: nail holes, scuffs, patched spots, paint drips, water stains.
- Inside every appliance: oven floor and door glass, stovetop, range hood underside, refrigerator and freezer interiors, dishwasher, microwave, washer and dryer.
- Bathrooms: grout, caulk lines, tub surface, toilet base, vanity interior, exhaust fan cover.
- Windows: glass, screens, tracks, and the sills, where winter condensation leaves stains.
- Doors and hardware: locks, closet doors, cabinet hinges, missing knobs.
- Exterior spaces you control: balcony, patio, storage cage, parking spot.
Back the files up somewhere other than your phone, and email a few key photos to your landlord with the completed checklist so there is a dated record they received. The documentation guide goes deeper on making photos useful, and the same habits will serve you at move-out.
Step 3: Clean before you unpack
Even a unit that was cleaned between tenants usually has dust in cabinets, crumbs in drawers, and residue in the refrigerator. These are the spots that become impossible to reach once dishes, food, and towels go in. Record anything dirty on the checklist first, then clean it.
Kitchen
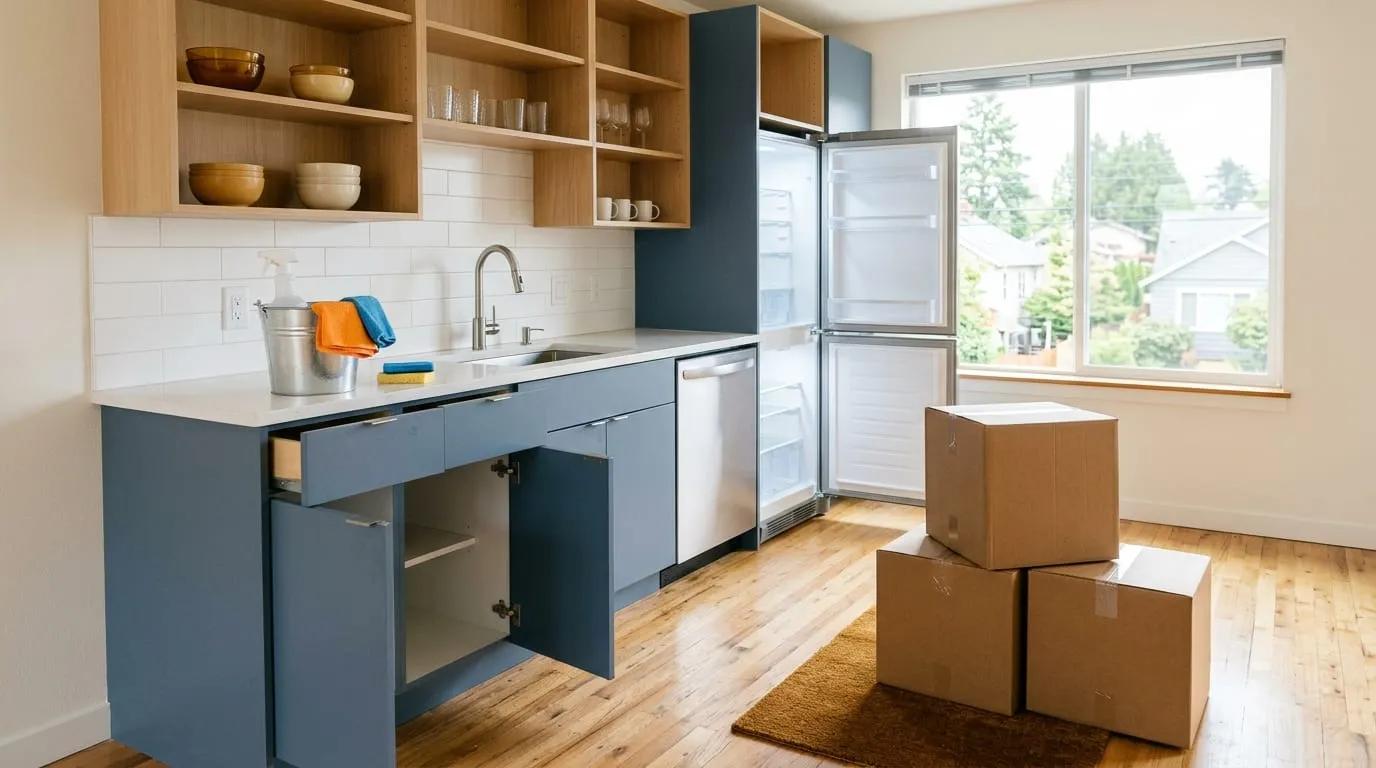
- Cabinets and drawers: vacuum crumbs from interiors and corners, then wipe shelves, drawer bottoms, and runners. Let them dry fully before adding shelf liner or dishes.
- Refrigerator and freezer: remove shelves and drawers, wash and dry them, wipe the interior walls and door shelves, and check the gasket folds for mildew. Let it run empty and cold before stocking.
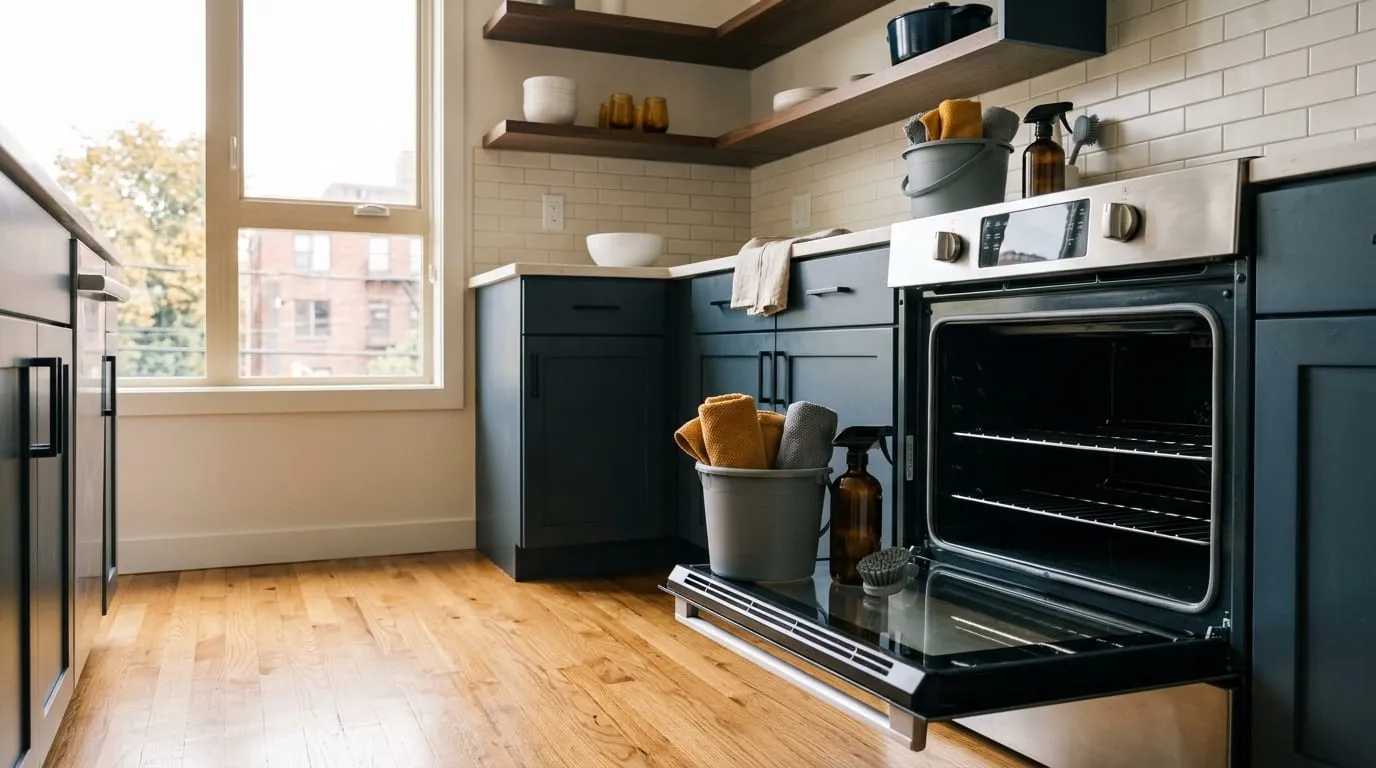
- Oven and stovetop: wipe out loose debris and check for leftover cleaner residue. If you find heavy buildup, record it on the checklist and photograph it before deciding whether to deep clean.
- Dishwasher: check and rinse the filter, wipe the door edges, and run an empty cycle.
- Sink and counters: scrub the sink, faucet base, and drain stopper, then wipe counters and backsplash.
Bathrooms
- Toilet: clean from top to bottom, including the seat hinges, base, and the floor behind it.
- Tub or shower: scrub walls, fixtures, and grout. Check caulk lines and the ceiling for mildew, which is common in damp Seattle bathrooms, and note it on the checklist if present.
- Vanity and medicine cabinet: wipe interiors before your toiletries go in.
- Exhaust fan: wipe the cover and switch it on to confirm it runs. A fan that does not work is a repair to report.
Everywhere else
- Wipe closet shelves and rods, and vacuum closet floors.
- Wipe light switches, door handles, and outlet covers.
- Vacuum window tracks and wipe sills.
- Vacuum and mop floors last, once the dusty work is done.
Use products according to their labels, ventilate, and never mix cleaners. If the unit was built before 1978, the EPA notes it is more likely to have lead-based paint. If you see chipping or flaking paint, the EPA advises using only a HEPA vacuum on that dust and debris and not dry sweeping. Report peeling paint to your landlord rather than scraping it yourself.
If you would rather hand off this first clean so you can focus on unpacking, Sweepless in Seattle, which publishes this guide, offers move-in cleaning. Either way, do the inspection and photos yourself before any cleaning starts.
Step 4: Smoke alarms and safety checks
Before the first night, find every smoke alarm and test it. The U.S. Fire Administration says to test smoke alarms monthly, replace 9-volt batteries at least once a year, and replace the entire alarm 10 years from its manufacture date. It also warns that removing the battery or disabling an alarm, even when cooking sets it off, can be a deadly mistake.
While you test:
- Note on the checklist whether each alarm works, and whether any are missing from bedrooms or hallways.
- Look for a carbon monoxide alarm if the unit has gas appliances, a gas fireplace, or an attached garage.
- Locate the electrical panel, the water shutoff, and any gas shutoff, and photograph them.
- Check that every exterior door and window lock works.
If an alarm does not work, report it to the landlord in writing the same day.
Step 5: Report repairs in writing
Washington requires the landlord to keep the premises fit for human habitation and to make repairs, except for conditions caused by wear resulting from ordinary use, under RCW 59.18.060. How you ask matters. The City of Seattle’s repair requests page says state law requires repair requests to be made in writing, even if you call first, and advises keeping a copy for yourself. The City also says the landlord must start repairs within set times measured from your written request, with the shortest window for urgent problems such as no heat, water, or electricity.
A good move-in repair request:
- Lists each problem with its location (“primary bedroom window does not latch”).
- Attaches or references dated photos.
- Gives the date, your name, and the unit address.
- Is sent in a way that leaves a record, and you keep a copy.
Keep repair requests separate from the move-in checklist. The checklist records condition; the request asks for a fix. Doing both protects you twice. If repairs are not getting made, the Renting in Seattle helpline at 206-684-5700 can help, and our tenant resources directory lists other places to turn.
Step 6: File your deposit paperwork
Washington has specific rules about where your deposit goes. Under RCW 59.18.270, the landlord must promptly place the deposit in a trust account at a financial institution or licensed escrow agent located in Washington. The landlord must give you:
- A written receipt for the deposit, and
- Written notice of the name, address, and location of the depository, plus notice of any later change.
Unless you and the landlord agree otherwise in writing, the landlord keeps any interest. If the building is sold, the deposit transfers to the new landlord, who must notify you.
If you have not received the receipt or depository notice by the end of move-in week, ask for them in writing. Store them with your lease, checklist, and photos. For the full set of deposit rules, from collection to return, see Washington security deposit rules.
The move-in day checklist
Print this or copy it into your phone. Work down the list in order.
| Step | Task | Done |
|---|---|---|
| Paperwork | Executed copy of lease in hand | ☐ |
| Paperwork | Landlord’s move-in checklist in hand, blank or prefilled | ☐ |
| Inspect | Walkthrough video of the empty unit | ☐ |
| Inspect | Photos of every room, floor, wall, and window | ☐ |
| Inspect | Inside every appliance opened, tested, and photographed | ☐ |
| Inspect | Faucets, toilets, drains, burners, oven, fan, and lights tested | ☐ |
| Checklist | Every problem written down specifically, including cleanliness | ☐ |
| Checklist | Corrections made, signed and dated by both, copy kept | ☐ |
| Clean | Kitchen cabinets and drawers vacuumed and wiped | ☐ |
| Clean | Refrigerator and freezer washed and running empty | ☐ |
| Clean | Bathrooms cleaned before toiletries go in | ☐ |
| Clean | Closets, switches, tracks, and floors done last | ☐ |
| Safety | Every smoke alarm tested; CO alarm located if needed | ☐ |
| Safety | Panel, water shutoff, and locks located and checked | ☐ |
| Repairs | Written repair request sent, copy kept | ☐ |
| Deposit | Written deposit receipt received | ☐ |
| Deposit | Written notice of depository name and address received | ☐ |
| Backup | Photos, checklist, lease, and receipts backed up off your phone | ☐ |
An illustrative example: a Beacon Hill one-bedroom
Consider a hypothetical renter picking up keys to a one-bedroom in an older Beacon Hill building at 10 a.m., with movers arriving at 1 p.m.
The renter spends the first hour on inspection. The landlord’s prefilled checklist marks the oven “clean,” but the oven floor has a layer of baked-on residue, so the renter photographs it and writes “oven floor: baked-on residue, not cleaned” on the form. The bathroom ceiling has small mildew spots over the shower; the renter notes and photographs them. One bedroom smoke alarm does not respond to the test button. The building predates 1978, and the paint on the bathroom window sill is flaking.
Before signing, the renter asks the landlord to initial the changes, then keeps a photo of the signed form. The renter sends a short email repair request covering the smoke alarm and the flaking sill, with photos attached, and saves a copy.
In the second hour, the renter vacuums and wipes all kitchen cabinets and drawers, washes the refrigerator shelves, cleans the toilet and vanity, and vacuums the closets. The oven is left as recorded for now, since the checklist now reflects its true state. When the movers arrive, boxes go into clean cabinets and closets, and the evidence of the starting condition is already backed up.
Nothing in this scenario decides what happens at move-out. It does mean the record matches the unit, which is the fairest starting point for both sides.
Keep the file for move-out day
Put everything in one folder: lease, signed checklist, photos and video, deposit receipt, depository notice, and every repair request with its response. When you eventually leave, that folder is what you will compare against. The Seattle move-out checklist picks up from there.
Common questions
What if my landlord did not give me a move-in checklist?
Ask for one in writing right away. Under RCW 59.18.260, a landlord may not collect a deposit without providing a written checklist at the start of the tenancy, and a landlord who collects one without it is liable to the tenant for the amount of the deposit. Either way, make your own dated photo and video record now, and if the situation is unclear, call the Renting in Seattle helpline at 206-684-5700.
Can I add notes to the checklist after I have signed it?
You can send the landlord a dated, written list of anything you missed and ask that it be attached to the checklist, with photos. Whether the landlord agrees to amend the signed form is up to them, but a prompt written record is far better than none. The City of Seattle advises telling the landlord immediately if something is not noted.
Should I clean a unit the landlord says was professionally cleaned?
Inspect first and record what you find, then clean what you will use. Note any leftover grime on the checklist before cleaning it, since that is the condition you received. Inside cabinets, the refrigerator, and bathroom fixtures are still worth a wipe before your things go in.
Do I get interest on my security deposit in Washington?
Usually not. RCW 59.18.270 says that unless the landlord and tenant agree otherwise in writing, the landlord keeps any interest earned on the trust account. Check your lease for any written agreement on interest.
Sources and references
- RCW 59.18.260 Moneys paid as deposit or security for performance by tenant, written rental agreement required, checklist , Washington State Legislature Primary source Accessed November 15, 2026
- RCW 59.18.270 Moneys paid as deposit or security, deposit in trust account, receipt, claims , Washington State Legislature Primary source Accessed November 15, 2026
- RCW 59.18.065 Copy of written rental agreement to tenant , Washington State Legislature Primary source Accessed November 15, 2026
- RCW 59.18.280 Moneys paid as deposit or security, statement of basis for retention, remedies , Washington State Legislature Primary source Accessed November 15, 2026
- RCW 59.18.060 Landlord, duties , Washington State Legislature Primary source Accessed November 15, 2026
- Security Deposit-Check List , City of Seattle, Renting in Seattle Primary source Accessed November 15, 2026
- Repair Requests , City of Seattle, Renting in Seattle Primary source Accessed November 15, 2026
- Smoke alarms , U.S. Fire Administration (FEMA) Primary source Accessed November 15, 2026
- Protect Your Family from Sources of Lead , U.S. Environmental Protection Agency Primary source Accessed November 15, 2026
See something out of date or wrong? Tell the editors. Read how we work in our editorial policy.