How to Document Your Apartment's Condition Before Moving Out
A move-out photo and video protocol for Washington renters: compare against your move-in checklist, a room-by-room shot list, file storage, and a forwarding address.
The short answer
After your final clean, walk every room with your signed move-in checklist in hand and record a continuous video plus wide and close-up photos of each item on it, back the files up the same day, and give your landlord a forwarding address in writing. Washington's deposit statute does not mention tenant photos, but it ties damage deductions to the move-in checklist (RCW 59.18.260 and 59.18.280), so your record should follow that checklist line by line.
- Shoot after the final clean, not before, and follow your signed move-in checklist line by line so every photo answers a specific entry.
- Combine one continuous walkthrough video per room with wide shots and close-ups, and back the originals up to two places the same day.
- RCW 59.18.280 requires the landlord to back damage charges with estimates or invoices; it says nothing about photos, from either side, so yours are your own evidence.
- A joint walkthrough is not required by the statute, but you can ask for one and should confirm what was said in writing.
- The landlord's statement may be mailed to your last known address, so give a forwarding address in writing before you hand back the keys.
The best move-out record is boring and complete: after your final clean, you walk every room with your signed move-in checklist in hand, record one steady video per room, take a wide photo and close-ups of every item the checklist names, and back the original files up the same day. Then you give your landlord a forwarding address in writing. This guide gives you the protocol, a shot list you can follow room by room, and an illustrative example of how the record gets used.
Everything below stated as Washington law comes from the current text of chapter 59.18 RCW, the Residential Landlord-Tenant Act. This is general information, not legal advice.
Why the move-in checklist is your script
Washington law makes the move-in checklist the baseline for deposit decisions. Under RCW 59.18.260, a landlord cannot collect a deposit unless the rental agreement is in writing and the landlord gives the tenant, at the start of the tenancy, a written checklist or statement “specifically describing the condition and cleanliness of or existing damages to the premises,” including walls (paint and wallpaper), carpets and other flooring, furniture, and appliances. Both of you sign and date it, and you keep a copy.
At move-out, RCW 59.18.280 says no part of the deposit may be withheld for repairing or replacing fixtures, equipment, appliances, and furnishings if their condition was not reasonably documented in that checklist. It also says no deposit may be kept for “wear resulting from ordinary use of the premises,” the statute’s wording for what most people call normal wear and tear.
So the useful question at move-out is not “does the apartment look good?” It is “for each line on the checklist, can I show what that item looks like now?” A photo that matches a checklist entry is far more useful than a hundred random shots.
The City of Seattle’s renter guidance makes the same point from the move-in side: its security deposit checklist page says the checklist “is what the landlord will use to determine if you are responsible for any damage when you move out.”
If you cannot find your checklist
RCW 59.18.260 entitles you to one free replacement copy of the checklist during the tenancy. Ask in writing now, before the keys go back. If you photographed the unit at move-in, pull those files up too. Our move-in cleaning and inspection checklist is the companion to this guide for your next place.
What the statute requires, and what it does not
It helps to know exactly where photos fit, because people often assume the law says more than it does.
| Topic | What chapter 59.18 RCW says | What that means for your record |
|---|---|---|
| Move-in checklist | Required before a deposit can be collected; signed, dated, copy to tenant (RCW 59.18.260) | Your shot list should follow it |
| Wear from ordinary use | No deposit may be withheld for it (RCW 59.18.260, 59.18.280) | Close-ups help show a scuff is ordinary wear, not damage |
| Landlord’s damage documentation | Copies of estimates received or invoices paid; for in-house repairs, materials receipts plus time spent and hourly rate (RCW 59.18.280) | Compare their paperwork against your photos of the same item |
| Photos | Not mentioned in the deposit return section | No rule requires them from either side; yours are voluntary evidence |
| Joint walkthrough | Not required by the statute | You can ask for one; confirm what was said in writing |
| Delivery of the statement | Personal delivery, or first-class mail to your last known address within 30 days (RCW 59.18.280) | Give a forwarding address in writing |
Your duty at move-out comes from RCW 59.18.130(10): restore the premises to their initial condition except for wear resulting from ordinary use. Your photos are how you show you did that.
The photo and video protocol
Plan on roughly one to two hours for a one-bedroom, more for a larger place with appliances and a patio. Do it after the last box is out and the final clean is done, ideally in daylight. In the darker months, turn on every light and open the blinds; Seattle’s rainy season also means muddy entries, so do the floors and entry last, right before you leave.
Before you start
- Charge your phone and clear enough storage for several gigabytes of video.
- Print or open the signed move-in checklist. Number its lines if they are not numbered.
- Set your phone camera to its default settings. Avoid filters, beauty modes, and “enhanced” processing that changes how stains or scuffs look.
- Bring a small ruler or tape measure to put next to marks for scale, and a sheet of paper to write the room name on.
Step 1: the establishing video
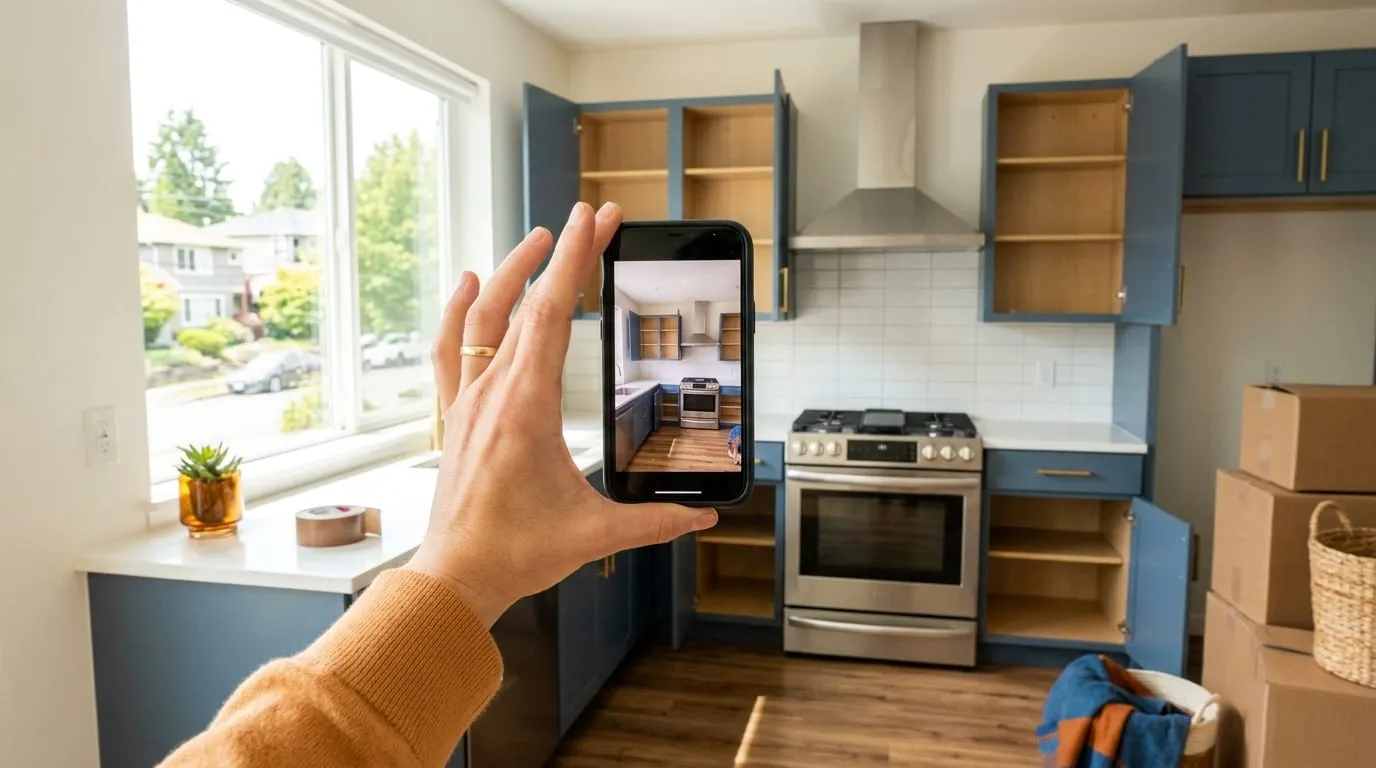
In each room, start a single, unbroken video at the doorway. Say the date, the address and unit number, and the room name out loud. Pan slowly left to right around the walls, then the floor, then the ceiling. Walk to each item on the checklist and pause on it for two or three seconds. Open every cabinet, closet, drawer, and appliance door on camera. Keep each room to one file so nobody can say a section was cut.
Step 2: wide photos
Take a wide photo from each corner of the room. Four corners per room gives overlapping views that show walls and floor together, which makes it hard to argue a close-up was taken somewhere else.
Step 3: close-ups that match the checklist
For every line on the checklist, take one medium shot that shows the item in context and one close-up. If the checklist recorded existing damage at move-in (a carpet stain, a chipped counter edge), photograph that same spot again so the before and after line up. Put the ruler beside any mark, hole, or scratch.
Step 4: things that work
Photograph or film the burners lit, the oven light on, the fridge cold and clean with its shelves in place, faucets running, toilets flushed, and the dishwasher and washer doors open. A ten-second clip of each is enough.
Step 5: keys, meters, and the empty unit
Photograph all keys, fobs, and garage remotes laid out together before you hand them back. If you have access to utility meters inside the unit, photograph the readings. End with a final wide shot from the front door looking in.
Room-by-room shot list
Use this as a starting point and add any line your own checklist includes.
| Room | Wide shots | Close-ups to take | Open or test on video |
|---|---|---|---|
| Entry and hall | Four corners, front door inside and out | Door, lock, threshold, floor near door, light switch plates | Lock and deadbolt working |
| Living room | Four corners, ceiling | Each wall, carpet or floor in traffic lanes, baseboards, window sills and tracks, blinds | Blinds raising and lowering, lights on |
| Kitchen | Four corners | Counters, backsplash, sink, stovetop, inside oven, range hood filter, inside fridge and freezer, floor in front of appliances | Burners lit, oven light, fridge cold, faucet, garbage disposal, dishwasher open |
| Bathroom | Two or more angles | Tub or shower walls, grout and caulk, toilet base, vanity top, inside cabinet, mirror, exhaust fan grille, floor | Fan on, faucets and shower running, toilet flushed |
| Each bedroom | Four corners | Walls (especially behind where the bed and desk stood), carpet or floor, closet interior, closet doors and tracks, windows | Closet doors sliding, lights on |
| Laundry area | One or two wides | Washer drum, dryer lint trap, floor behind machines if accessible | Doors open |
| Balcony or patio | One or two wides | Deck surface, railing, door track and screen | Sliding door and lock |
| Storage and parking | One wide each | Floor, walls, anything assigned to you | Storage locked and empty |
Walls behind furniture, carpet in the main walking lanes, and the inside of the oven are where move-out disputes tend to concentrate, so give those a second close-up. Our Seattle apartment move-out cleaning checklist covers how to get each of those areas clean before you shoot.
Timestamps, file names, and storage
Keep the originals untouched
Most phones save the capture date and time inside each photo and video file. Do not crop, filter, or re-save the files you plan to rely on; work from copies if you want to mark them up. Some messaging apps compress images and strip that embedded information when you send them, so share through a cloud folder link or email attachment instead.
Name and organize the files
Create one folder named with the address and the date, for example “1234 Example Ave Unit 5 move-out 2026-11-30.” Inside it, make one subfolder per room. If you have time, rename the key close-ups to match the checklist line, such as “kitchen 07 oven interior.” That makes it easy to answer a specific charge later.
Back up the same day
Keep at least two copies in different places, such as your phone plus a cloud folder, or a cloud folder plus a USB drive. Then create a dated record that the files existed: email yourself the folder link, or email the landlord a short note saying move-out photos and video were taken on that date and are available on request. Keep the folder until any deposit question is fully settled.
Asking for a walkthrough
Chapter 59.18 RCW does not require a joint move-out inspection. Many landlords offer one anyway, and you can ask. A walkthrough is useful because problems raised in person can sometimes be fixed on the spot, before you hand back the keys.
How to make it count:
- Ask in writing for a specific date and time, ideally after your final clean and before your tenancy ends.
- If the landlord wants to inspect while you still live there, RCW 59.18.150 generally requires at least two days’ written notice before entering for an inspection, stating the date or dates and a time window.
- Bring the checklist and go line by line together.
- Do not sign anything that lists charges or amounts on the spot unless you agree with it. You can say you will respond in writing.
- Afterward, send a short email summarizing what was said: “Thanks for walking through Unit 5 with me today at 10 a.m. You noted the bedroom closet door is off its track; I reset it before leaving. No other issues were raised.”
A walkthrough does not replace your own photos. Take them before the landlord arrives, so your record is independent of the conversation.
Your forwarding address, in writing
RCW 59.18.280 gives the landlord 30 days after the tenancy ends and you move out to give you a full and specific statement of the basis for keeping any of the deposit, with any refund due. The landlord complies if the statement is delivered personally or mailed first-class, properly addressed, to your last known address within the 30 days. The mailing date counts.
If your last known address is the apartment you just left, the statement may go there. So:
- Write your new mailing address in a dated letter or email to the landlord or property manager, with your unit number.
- Keep a copy, plus proof of sending (a sent email, a certified mail receipt, or a photo of the letter handed over with the date).
- Set up postal mail forwarding as a backup, and check it.
If the landlord has a resident portal, updating it is a good extra step, but keep your own written copy as well. Our 30-day moving timeline shows where this fits in the last week of a move.
What happens next
When the statement arrives, compare it line by line with your photos. RCW 59.18.280 requires the landlord to include copies of estimates received or invoices paid to reasonably substantiate damage charges. If the landlord or an employee did the work, the statement must include a receipt or vendor document for materials and a statement of the time spent and the reasonable hourly rate. For carpet cleaning in particular, the statute bars a deduction unless the landlord documents carpet wear beyond wear resulting from ordinary use.
The deposit deductions guide explains how to read each kind of charge, and the security deposit rules guide covers deadlines and what happens if none arrives.
An illustrative example
Consider a hypothetical: Priya rents a one-bedroom in Capitol Hill for three years. Her signed move-in checklist notes “living room carpet: clean, small stain near window” and “bathroom: caulk around tub discolored.” This is an illustrative scenario, not a real case.
On move-out day she cleans, then films one video per room and takes four corner shots plus close-ups for each of the 22 lines on the checklist. She photographs the carpet stain by the window with a ruler beside it, showing it is the same size the checklist describes, and photographs the tub caulk. She emails herself the folder link that evening and sends the property manager a dated email with her forwarding address.
Three weeks later, a statement arrives at her new address. It includes an invoice for carpet cleaning, citing “stains,” and an estimate to recaulk the tub. Priya replies in writing, attaching her close-up of the window stain and the move-in checklist line that recorded it, and noting the tub caulk was listed as discolored at move-in. She asks the manager to explain what carpet wear beyond ordinary use was documented. Whatever the outcome, her questions are specific and tied to the checklist, which is exactly what the record is for.
Quick checklist for move-out day
- Signed move-in checklist in hand, lines numbered
- Final clean done, all belongings out, lights on, blinds open
- One continuous video per room, starting with date, address, and room name spoken aloud
- Four corner wide shots per room
- Medium and close-up photo for every checklist line, ruler beside any mark
- Appliances, faucets, fans, and locks shown working
- Keys and fobs photographed together
- Original files backed up to two places the same day
- Dated email with the folder link
- Forwarding address sent in writing, with proof
- Walkthrough requested (optional) and summarized by email afterward
For the rest of the move, from notice to final utilities, use the Seattle move-out checklist.
Common questions
I lost my copy of the move-in checklist. What can I do?
Ask the landlord for a copy in writing. RCW 59.18.260 entitles a tenant to one free replacement copy of the signed checklist during the tenancy, and RCW 59.18.065 gives the same right for the rental agreement. Ask before you move out, while you are still a tenant.
Should I take photos before or after I clean?
Both, if you have time, but the after set is the one that matters. It shows the condition you handed back. Before photos are useful mainly if you hire cleaners or repairers and want to show what was done.
Do I need a special app that stamps the date on photos?
Not necessarily. Most phones save the capture date and time inside the file itself. What matters more is keeping the original files unedited, backing them up the same day, and sending yourself or the landlord something dated, such as an email with a link to the folder.
My landlord says the statute requires them to take photos. Is that right?
The deposit return section, RCW 59.18.280, does not mention photos. It requires a full and specific statement with copies of estimates or invoices for damage charges. A landlord may still take photos as good practice, and so should you.
Sources and references
- RCW 59.18.260: Written rental agreement to specify terms for retention, written checklist required , Washington State Legislature Primary source Accessed November 15, 2026
- RCW 59.18.280: Statement and notice of basis for retention, remedies , Washington State Legislature Primary source Accessed November 15, 2026
- RCW 59.18.130: Duties of tenant , Washington State Legislature Primary source Accessed November 15, 2026
- RCW 59.18.150: Landlord's access to dwelling unit , Washington State Legislature Primary source Accessed November 15, 2026
- RCW 59.18.065: Copy of rental agreement to tenant , Washington State Legislature Primary source Accessed November 15, 2026
- Security Deposit-Check List , City of Seattle, Renting in Seattle Primary source Accessed November 15, 2026
- Deposits and damages , WashingtonLawHelp.org (Northwest Justice Project) Accessed November 15, 2026
See something out of date or wrong? Tell the editors. Read how we work in our editorial policy.